Article: How To Install A Water Feature: In 5 Easy Steps
How To Install A Water Feature: In 5 Easy Steps
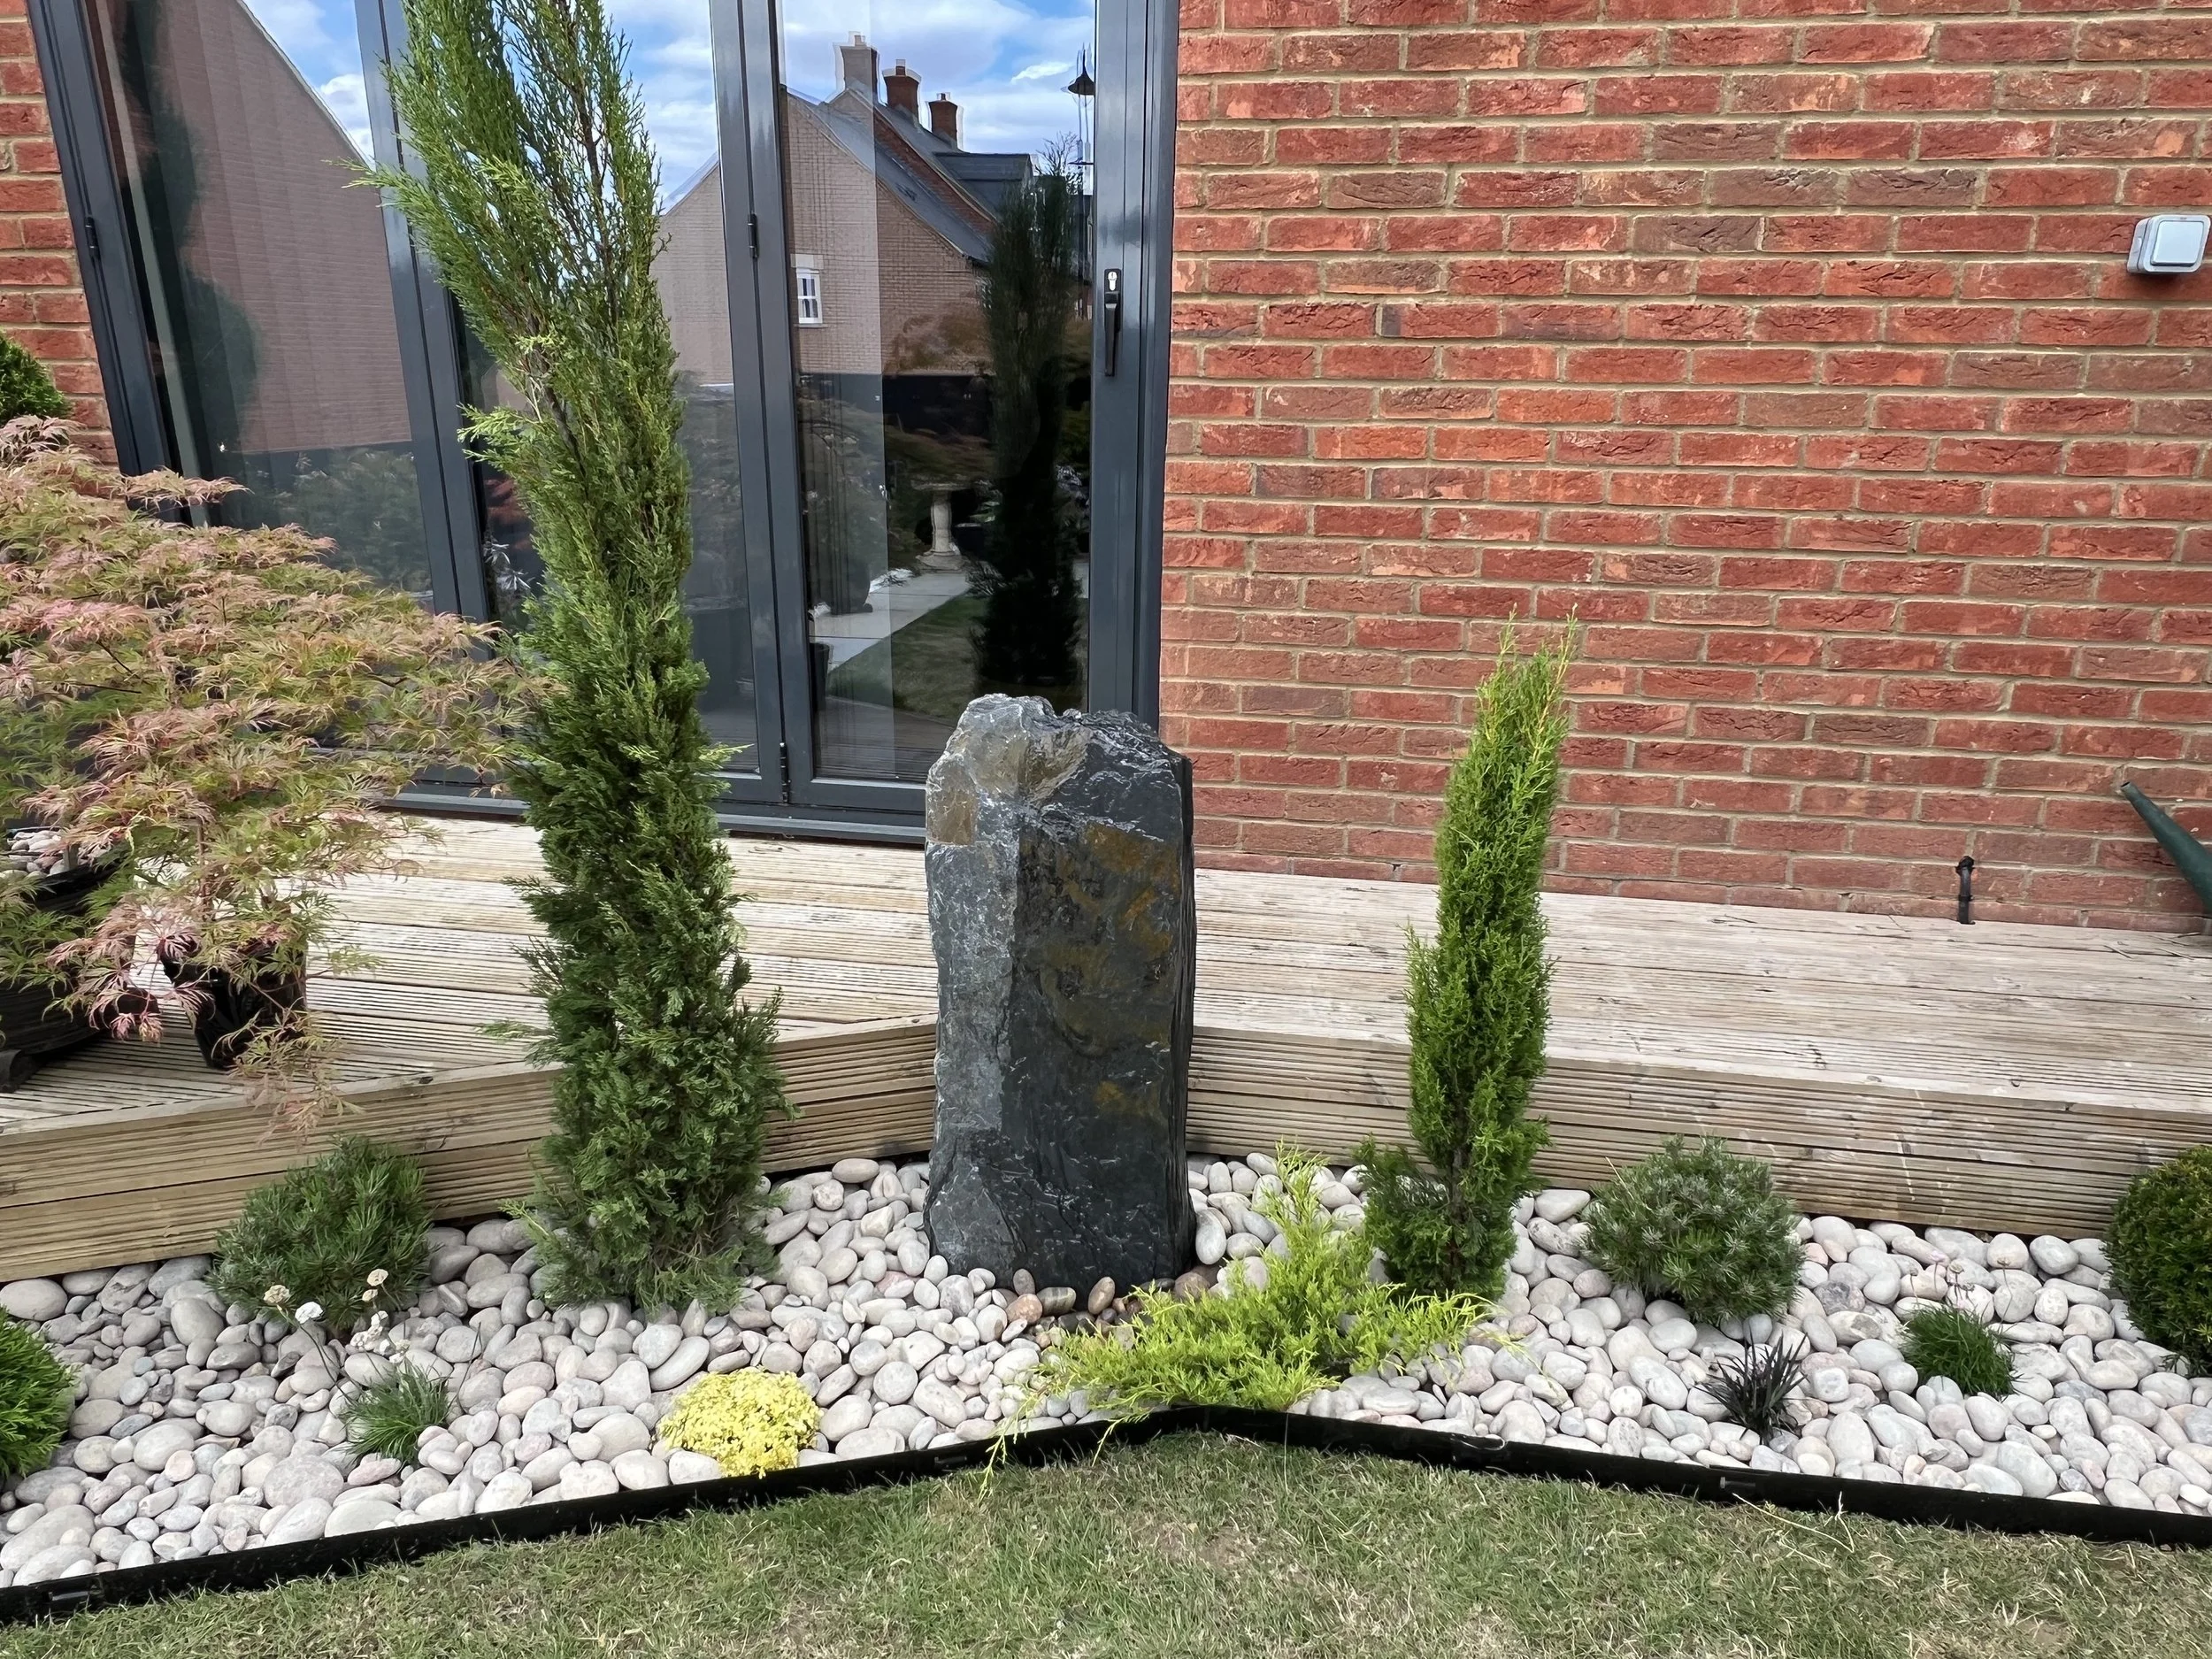
Alt text: A landscaped garden area featuring a tall, slate monolith water feature standing upright surrounded by white cobbles and various plants, with a lush green lawn and a house in the background.
Brief Overview of Installing Garden Water Features
A garden water feature adds beauty, tranquillity, and a soothing soundscape to any outdoor space. Whether it’s a bubbling fountain or a cascading waterfall, these features create a peaceful vibe and attract wildlife. But to enjoy them for years to come, proper installation is key. It’s not just about placing a feature and switching on the pump—it’s about doing it right, so everything runs smoothly and looks great.
In this guide, I’ll take you step-by-step through the process. From picking the best spot to setting up the reservoir and making sure everything’s level, you’ll learn how to create a stunning, long-lasting water feature that transforms your garden.
Step 1: Preparing and Levelling the Site
Choosing the Best Spot
Pick a location where your water feature will look great and be easy to see. Think about how close it is to an outdoor power outlet if you need electricity. Make sure it fits with the style of your garden—whether that’s a cosy corner or a show-stopping centrepiece.
Marking and Digging the Hole
Mark out where you want the reservoir to sit. Dig a hole slightly bigger and deeper than the reservoir—this makes space for a solid base and keeps everything stable.
Building a Stable Base
Fill the bottom of the hole with hardcore or gravel, then tamp it down tightly. Add about an inch of sharp sand on top—this helps with drainage and keeps the reservoir level. Check that everything is flat and firm before placing the reservoir.
Step 2: Installing and Levelling the Reservoir
Placing the Reservoir
Set the reservoir into the prepared hole, making sure it sits flat and even. Use a spirit level to check that it’s perfectly horizontal. A level reservoir is crucial for smooth water flow and prevents any uneven splashes or tilting.
Securing the Reservoir
Once positioned, backfill around the edges with soil or sand to hold it firmly in place. Tamping down gently ensures the reservoir stays stable and won’t shift when the pump is running.
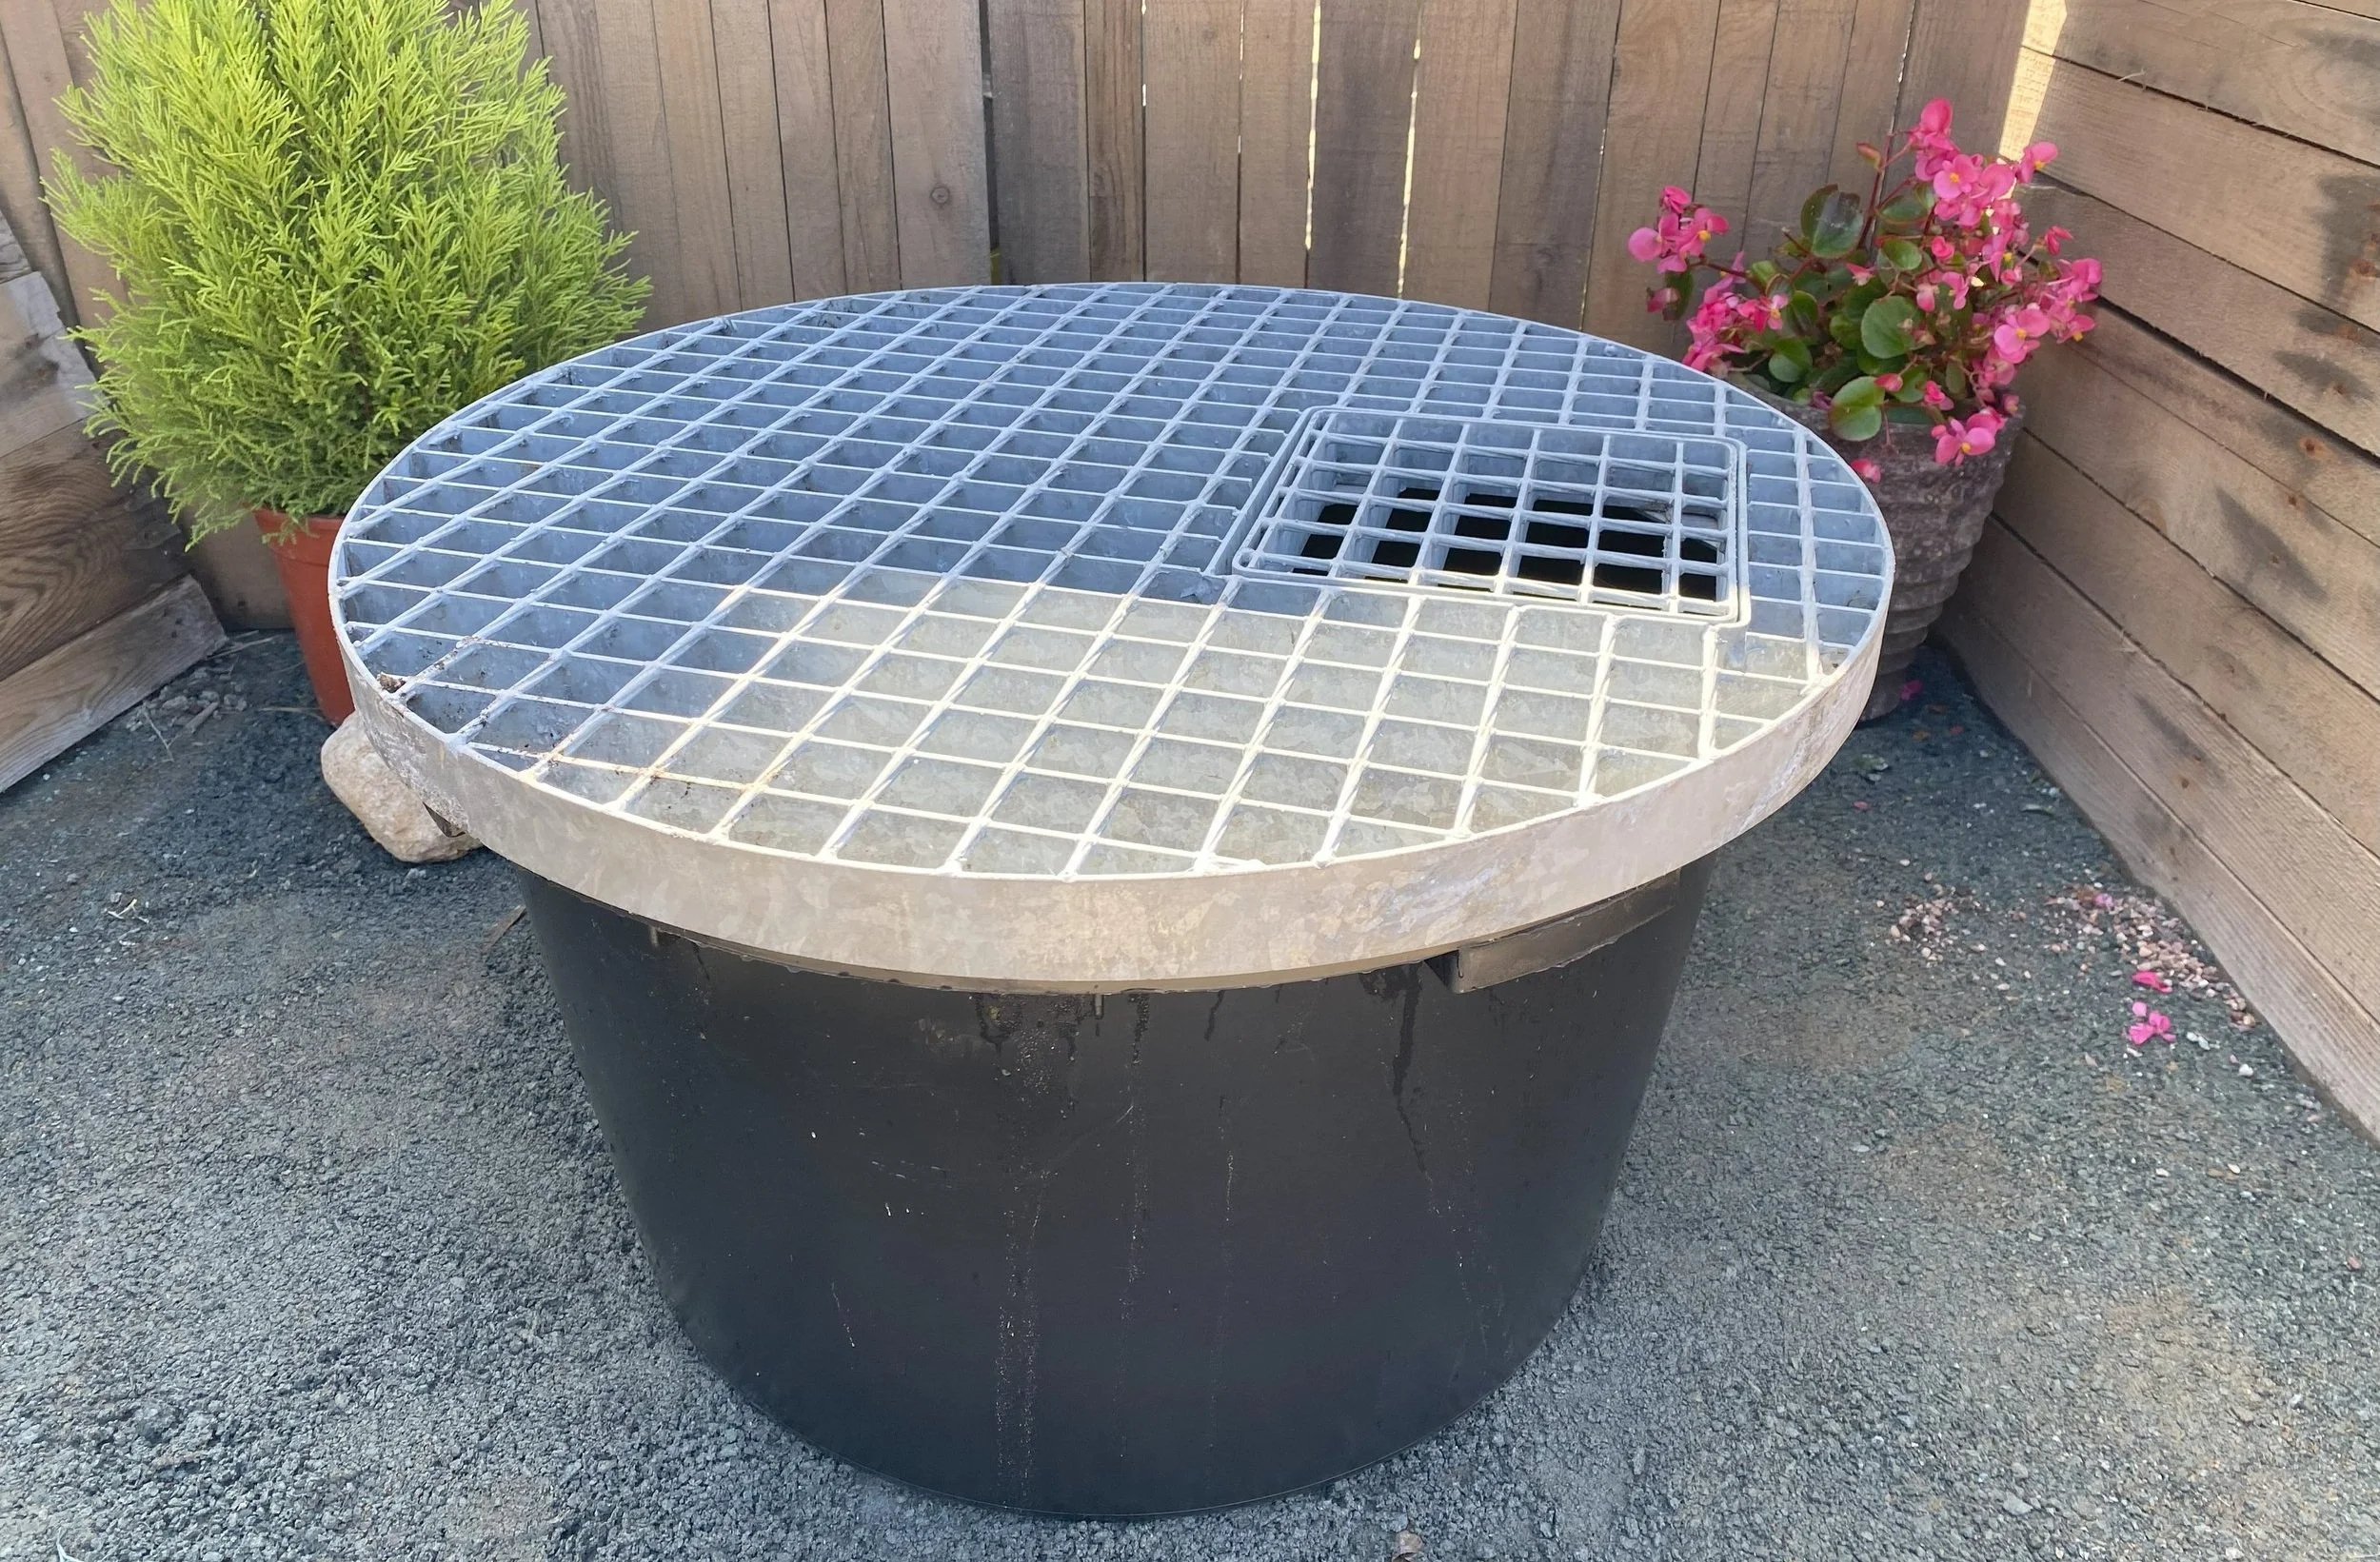
Alt text: A round, water feature reservoir with a metal grating cover on top, situated on a paved patio area with potted plants and flowers around it, enclosed by wooden fencing.
Step 3: Fitting the Pump and Plumbing
Installing the Pump
Place the water pump inside the reservoir. Feed the pump’s power cable through an access hole or pipe designed for this purpose. Make sure it’s positioned securely and fully submerged to keep it working properly.
Electrical Safety
Use weatherproof outdoor sockets and run the power cable through armoured trunking to protect it from the elements. For added safety, incorporate an RCD (Residual Current Device) to prevent any electrical hazards.
Attaching the Hose
Secure the hose to the pump using fittings or jubilee clips. Run the hose through the lid or mesh cover of the reservoir, making sure it’s tightly attached and routed smoothly up to your water feature.
Positioning the Water Feature
Place your fountain, urn, or stone feature over the reservoir, aligning it carefully. Feed the hose through the base of the feature and up to the top, ensuring the water will cascade naturally and look stunning.
Step 4: Testing and Adjusting Water Flow
Filling the Reservoir
Start by filling the reservoir with clean water until the pump is fully submerged. This is essential for proper operation and to prevent the pump from running dry, which could damage it.
Switching on the Pump
Turn on the pump and observe how the water flows. Check for any leaks or splashing outside the feature. Make sure water circulates smoothly from the top of your feature and returns quietly into the reservoir.
Adjusting Flow Rate
Use the pump’s flow dial or control to fine-tune the water’s cascade. Increase or decrease the flow until you get the desired effect—whether a gentle trickle or a lively waterfall. Ensure the water flows smoothly and evenly, creating a natural, calming cascade.
Step 5: Finishing Touches and Decoration
Camouflaging the Reservoir
Hide the reservoir by covering it with decorative stones, cobbles, or slate chippings. This creates a natural look and keeps the focus on your water feature, not the container beneath.
Tidying Up
Secure all cables and hide them away safely—either by burying them or tucking them away behind stones or plants. Clear the surrounding area of tools and debris, so your garden looks neat and inviting.
Maintenance Tips
Keep the water topped up regularly, especially during hot weather when evaporation is higher. Check that the pump remains fully submerged and functioning properly. Regular maintenance ensures your water feature continues to look beautiful and operate smoothly.
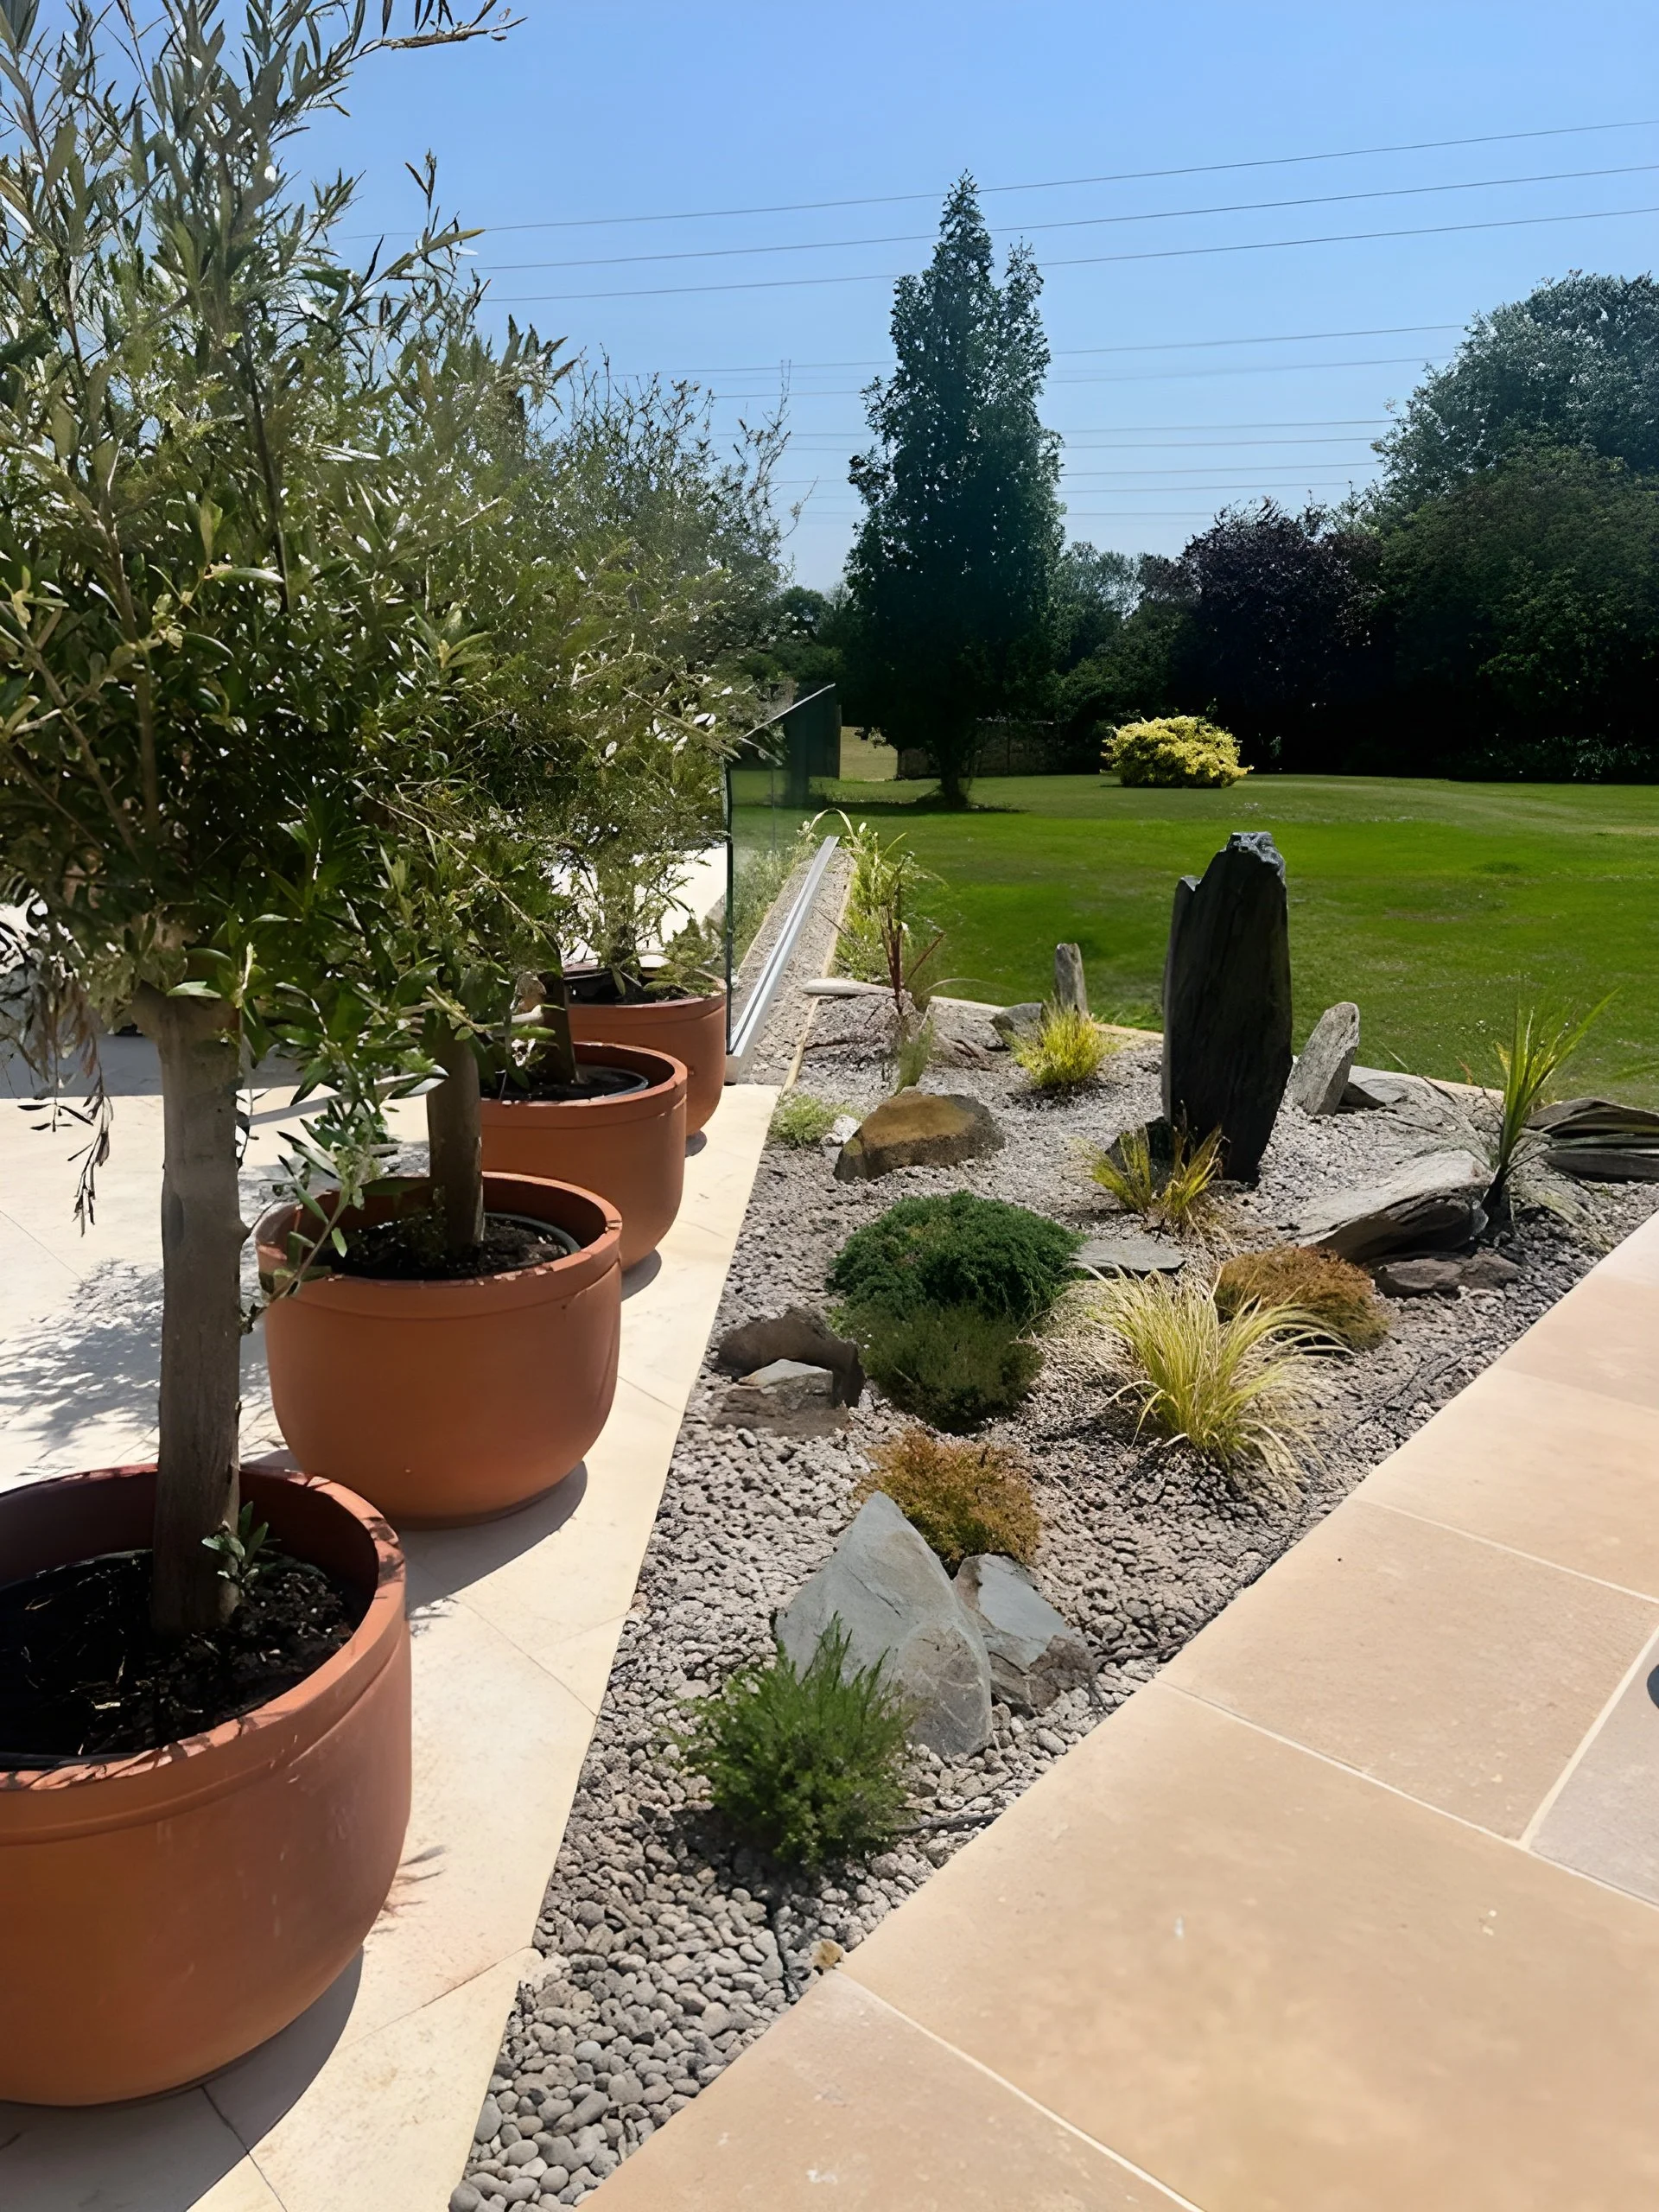
Alt text: A neatly landscaped garden area with potted olive trees along a paved walkway, featuring cascading slate monolith water feature and plant arrangement with gravel and decorative stones, set against a lush green lawn and trees in the background.
Conclusion
Congratulations! You’ve now learned the key steps to installing your own garden water feature—from selecting the perfect spot and preparing the base, to fitting the pump and finishing with decorative touches. Taking the time to do it right ensures your water feature will be a beautiful, peaceful centrepiece that enhances your outdoor space for years to come.
Now, it’s time to sit back, relax, and enjoy the calming sights and sounds of your new garden. Whether you opt for a gentle trickle or a lively cascade, your water feature is sure to bring a soothing ambiance and a touch of nature’s serenity to your garden.
For further customization, consider adding lighting to create a stunning night time display, or incorporating plants around the feature to enhance its natural look. There are plenty of resources and ideas online to help you personalize your setup—so keep exploring and making your garden uniquely yours!
Frequently Asked Questions (FAQ)
1. How long does it take to install a garden water feature?
The time can vary depending on the size and complexity, but most simple installations can be completed in a few hours to a day.
2. Do I need to be experienced to install a water feature myself?
Not necessarily. With careful follow-through of instructions and some basic DIY skills, most homeowners can successfully install their own water feature.
3. What maintenance is required once the water feature is installed?
Regularly top up the water, especially in hot weather, and clean debris to keep the pump running smoothly. Periodically check for leaks and ensure the pump remains submerged.
4. Can I install a water feature in a small garden or patio?
Absolutely! There are many compact and stylish options suitable for small spaces that can add charm without taking up too much room.
5. What safety precautions should I take during installation?
Use weatherproof outdoor sockets, run cables through armoured trunking, and incorporate an RCD for electrical safety. Always follow manufacturer instructions and take care when working with electrical equipment outdoors.